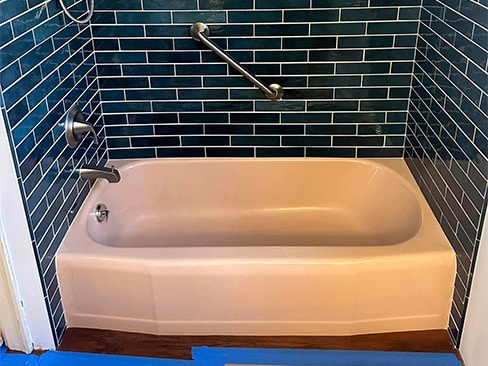
Our professional cleaners thoroughly clean the tub of soap scum and silicone.
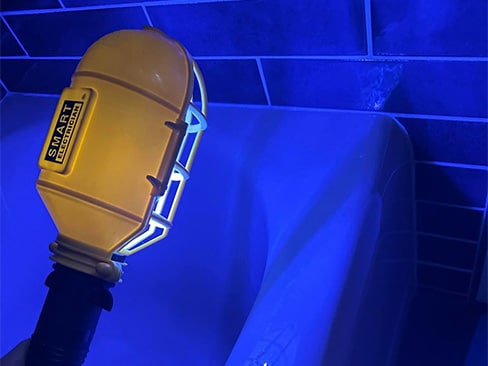
After cleaning the tub, removing containments and silicone, we go over the tub with a blacklight to make sure we didn’t miss anything. This takes extra time but is crucial in a flawless finish.
To save time and money, many local refinishing companies will just spray right over any chips, cracks, or other damaged areas. We take this extra step to fill in imperfections with professional body filler.
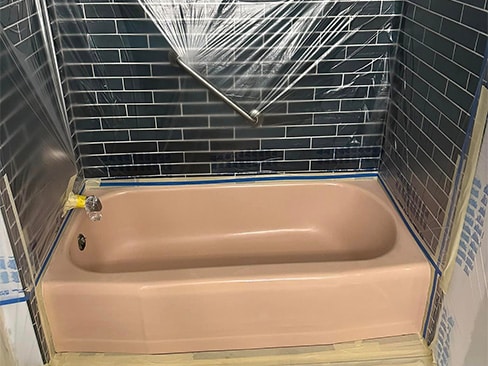
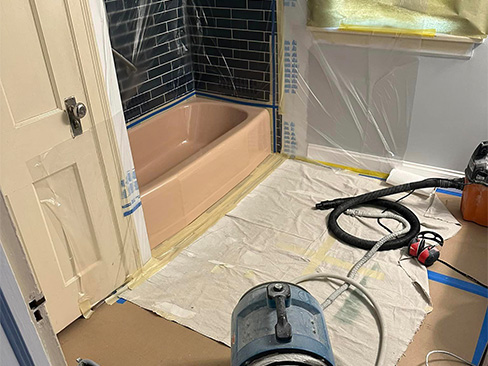
We mask off around the tub and surround areas to protect from any over spray.

A high quality Tack Rag used to wipe the tub for any debris before our primers go on. Many skip this step possibly leaving a rough finish.
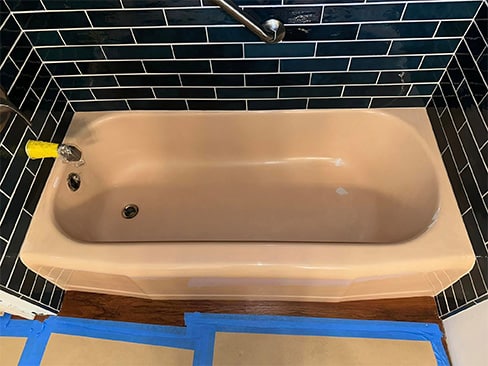
Our first primer applied, it’s a clear primer that we wipe on the tub. It’s a silane-based primer, think of a super glue effect for the coatings.
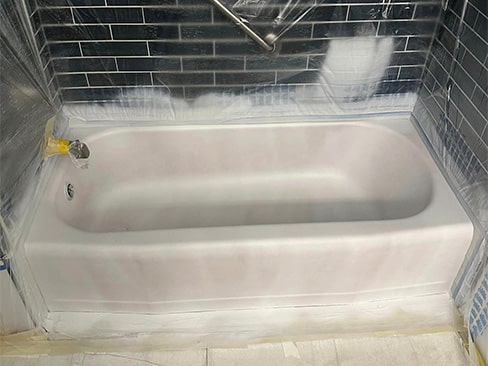
An Epoxy primer is used for multiple purposes such as seal coat protection, any tub imperfections and enhanced rust protection.
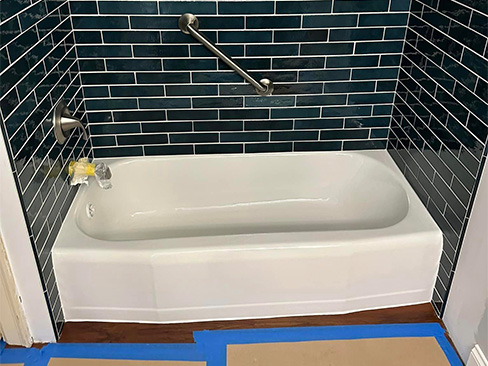
Our final coating applied. Masking removed resulting in a smooth, glossy white finish that is useable 24 hours after completion.